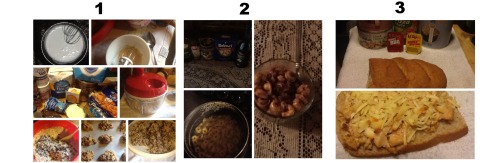
What an ending! Welcome to Dawn Dockery, who jumped in Week #11 with 38 points and submitted a huge 170 points for Week #12! Week #11’s point winner goes to Amanda Shulz! Here are weeks 11 & 12’s prizes along with their winners respectively:


***
We had a total of 79 recipes turned in for weeks 11 & 12! I decided to combine them according to participants. Also, just FYI, I only got through about half of the post in adding the links before it was just too late and I had to go to sign off for the night. I’ll finish up the links here next week.
Everyone listed here was entered in for the four prize finale… the announcement of those winners (along with our overall contest winners) is in the next post (posted today as well).
Be sure to click on the image if you’d like to have a closer look! In no particular order, here’s all the wonderful food storage recipe testing that was done over the last two weeks!
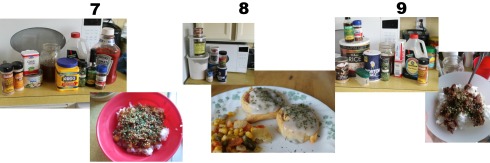
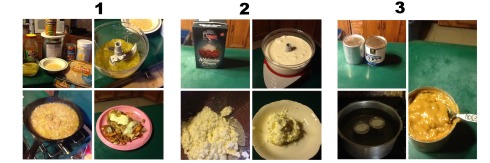
Amanda Shulz
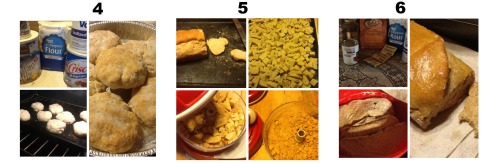
1– Bacon Ranch Pasta Casserole
2– Butter made from shelf stable (Gossner’s) cream
3– Creamy Pineapple Dessert (made with Dream Whip, picture #4)
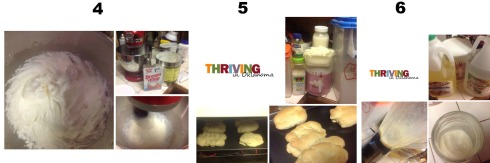
5– Garlic and Chive Hoagie Buns
6– Homemade Mayonnaise

7– Pepporcini Sandwiches (using canned beef)
8– Ranch Dressing (made with homemade mayo and blended with a manual blender!)
Angalee Blatter
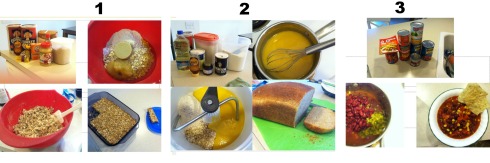
1– Granola Bars (recipe found here)
Review:
Dry, not great flavor, not a fan. I will be looking for a better recipe we enjoy more.
(*note from Megan: Angalee, you might like to try this one, it’s our family’s favorite recipe so far!)
2– Harvest Bread (recipe in notes area below)
Review: This is my favorite home made bread recipe I have ever made/tried! It took almost all day, to make and rise twice and then bake so it was more time consuming than the others I have tried. I made a batch and didn’t let the cornmeal mixture cool, and the dough didn’t absorb the flour right and my Bosch was shaking-long story short- I threw it out and started over and made sure to really let it cool. Second batch turned our perfect. The kids inhaled a slice without honey or jam on it. We love it! Takes longer, since the dough rises twice but worth it. And the good news is, half the loaf didn’t stick in the pan like last time. 🙂
3– Meatless Taco Soup (recipe in notes area below)
Review: We usually add ground turkey to this, but I wanted to make it Food Storage friendly. I am a meat lover so I didn’t think I would love it, but I liked it just as much!

4– Copycat Olive Garden Breadsticks (found in week #10’s recipe submissions from Paula)
Review: Husband loved these. I made one batch and then decided I should have doubled it, so I hurried and made another batch. I have a picky eater who doesn’t like garlic flavored bread so decided to do one batch plain or with cinnamon and sugar sprinkled on it, and the other was garlic. Huge hit. Love this recipe.
5– Whole Wheat Pita Bread (also in week #10’s submissions, from Brittney. Recipe included again in notes here below.)
Review: I think these were supposed to be easy, and for some reason they weren’t super easy for me. I started one on fire and started a hot mitt on fire in the process as well. It was in intense night in the kitchen. But they taste good! I just put some honey on one to try it out and was excited! I will be making these again, with a fire extinguisher close too. 🙂
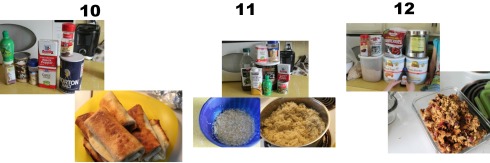
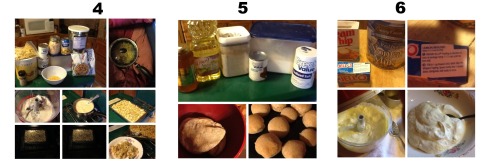
Brittney Barney
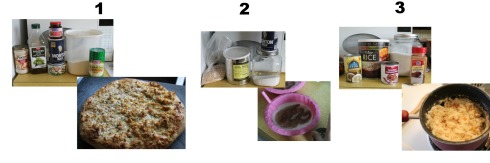
1– Alfredo Pizza (pizza made with jarred alfredo sauce as the sauce base as well as to sautee the chicken in.)
“This was okay—much better when we used the rest of the sauce for dipping.”
2– Atole (a Guatamalan hot oatmeal drink)
“We put it in a bowl for our girls, and they call it “Oatmeal Soup.” My daughters went a little overboard on the cinnamon and sugar in the pictures!”
3– Rice Pudding
“YUM!”
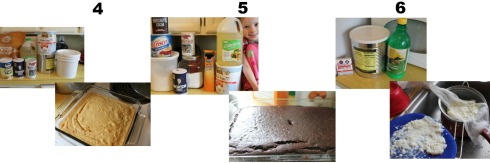
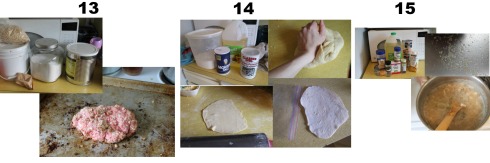
4– Cornbread
“This recipe was okay. It was pretty dense, but the flavor was good. I’ll keep the recipe until I find a better one.”
5– Deluxe Chocolate Cake
“This was the birthday cake for our little girl who turned ONE! She loved it, as we all did. It was perfect!”
6– Baker’s Cheese
“This recipe used a rennet tablet for the cheese. I wondered how it would turn out. Maybe it turns out okay with regular milk, but with powdered milk, the flavor wasn’t too pleasant. Plus I couldn’t get enough whey out to knead it. It was too jiggly.”
7– Honey Sesame Chicken (recipe in notes)
“This was incredibly delicious. I might make a double batch just for myself!”
8– Hot Ham Rolls
9– Korean Beef (recipe in notes)
“YUM! I had sesame oil and sesameseeds, so I threw them in as well. This was delicious!”
10– Shredded Beef Chimichangas
I used the shredded beef taquitos recipe from My Food Storage Cookbook to make chimichangas along with some homemade flour tortillas. THIS WAS THE BEST FOOD STORAGE RECIPE YET!!! Wow. Delicious is an understatement! (Sorry, I forgot to take a picture of the meat. When I texted my husband this morning to send me a picture of his that I sent for his lunch, he said sorry, he’d already eaten it on his way to work! It was so yummy he couldn’t wait. Haha)
11– Spanish Rice
“This was yummy. It was a perfect side for our homemade chimichangas!”
12– Oven Baked Oatmeal
“This is my third oven baked oatmealrecipe. I like it more than the last, but the powdered milk had a very strong flavor that I couldn’t get past. I’m going to have to keep looking.”
13– Survival Bread
“This was an interesting recipe. The flavor was . . . interesting. A little addicting, but not in a delicious-I-need-more way. It was just a hmmm-that’s-interesting way. So we munched and snacked on it. It was very sweet, and once it cooled, it was very hard. I didn’t have orange or lemon jello, so we used strawberry.”
14– Flour Tortillas
15– White Chicken Chili
“This recipe was a little bland. Probably because I left out the can of green chiles, but I didn’t want it to hot for the kids. It definitely needs something to add more flavor though.”
16– Flour Tortillas

(…all links from here on out will be added soon…)
Dawn Dockery
1– Oatmeal Chocolate Chip Cookies
2– Balsamic Tortellini
3– BBQ French Bread Pizza
4– Biscuits
5– Homemade Bread Crumbs
6– Bread

7– Butter
8– Butter
9– Buttermilk Chocolate Chip Pancakes
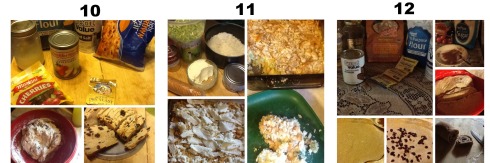
10– Cherry Yogurt Bread
11– Chicken Broccoli Rice Casserole
12– Cinnamon Raisin Bread
13–Dream Whip
14– Classic Buttermilk Pancakes
15– Franks & Beans
16– Gravy
17– Green Beans
18– French Bread Pizza
19– Hot Breakfast Rolls
20– Hot Ham Rolls
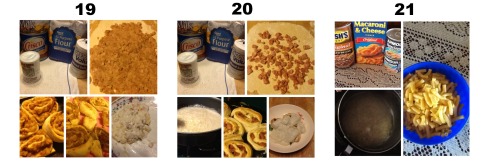
21– Mac and Cheese
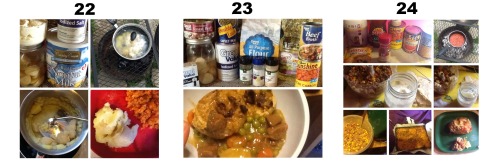
22– Mashed Potatoes
23– Meat Pie
24– Mexican Tortilla Lasagna
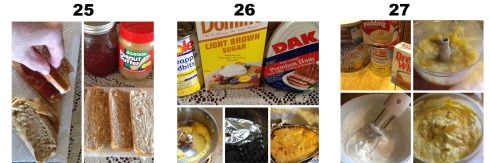
25– PB &J sandwiches
26– Pineapple Baked Ham
27– Pineapple “Fluff” Dessert

28– Powdered Milk Butter
29– Rice
30– Rice Crisp Oatmeal Cookies
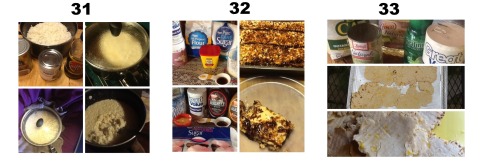
31– Rice Pudding
32– Samoa Brownies
33– Homemade Tortillas
34– Yogurt #1
35– Yogurt #2


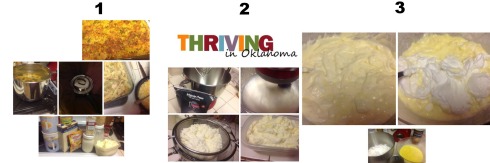
1– Homemade Butter (made with a hand crank butter churn)
2– Triple Berry Crisp
Paula Herron
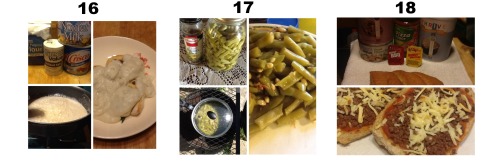
1– Beef Burritos
2– Butter (made with shelf stable cream)
3– Homemade Caramel
4– Chicken Noodle Casserole
5– Homemade Hamburger Buns
6– Lemon Mousse
7– Mexican Tortilla Lasagna
8– Homemade Tortillas
9– Tuna Salad Sandwiches
Vicki Davis
Vicki formatted the four pictured recipes she made (along with a great commentary) in a document. Here are her documents for week #11 & 12:
Week 11 – April 22-23-2014 Biggest Prepper Challenge
Week 12 – April 30-2014 Biggest Prepper Challenge
Notes:
Whole Wheat Pita Bread
2 1/2 teaspoons yeast
1 teaspoon honey
1 1/4 cups warm water
2 cups flour, plus additional for kneading
1 cup whole-wheat flour
1/4 cup oil
1 teaspoon salt
Cornmeal for sprinkling baking sheets
Combine yeast, honey and 1/2 cup warm water in a large mixing bowl. Stir together then set aside for five minutes. In a separate bowl, mix white flour and wheat flour together with a whisk, set aside. After the five minutes, make sure the yeast mixture is foamy. Add 1/2 cup of the flour mixture to the yeast mixture. Combine. Cover with saran wrap and let rise in a warm place for 45 minutes.
After yeast mixture has doubled, add oil, salt, remaining 3/4 cup warm water, and the rest of the flour mixture. Stir well into a dough. Dump dough onto a floured surface and knead dough for 8-10 minutes until smooth and elastic. Add a little bit of flour when it is needed. Shape into a ball and put in an oiled bowl. Cover with saran wrap and let rise for one hour.
When dough has doubled, punch down and separate into eight pieces. Roll each piece into a ball, flatten with hand, then roll out with rolling pin to make a circle with a 6-7 inch diameter. Place dough round on a cookie sheet sprinkled with cornmeal. Roll out all the sections. Cover cookie sheets with clean cloths and let rest for 30 minutes.
Preheat oven to 500 degree F. Place an oven rack on the lower part of the oven and remove the other rack. Lay the pitas, four at a time, directly on the oven rack. Cook for 2 minutes or until just puffed and golden, turn over and cook an additional minute. Let rest on a cooling rack for two minutes then wrap in foil to keep warm until serving.
Atole (Guatemalan Hot Oatmeal Drink)
1 heaping cup oats (instant or regular, both work well!)
2 1/2 cups water
dash salt
1/4 cup sugar
2 cups milk
(made from powdered milk)
Heat water, salt and sugar in pan until boiling. Add oats, cook for 2-3 minutes.
Meanwhile, heat up milk in microwave for 2 minutes or bring to an *almost* boil in another pan.
Pour milk in blender and add hot cooked oatmeal mixture.
Start blender on low and hold onto the lid with a towel- this is a full load for a blender so start slow.
Increase blender to high and blend until smooth.
Serve in mugs. Add a sprinkle of cinnamon if you like!
Bulgolgi (Korean Beef)
1 can of beef
1/2 tsp garlic powder
1/4 cup honey
1/4 cup soy sauce
1/4 tsp powdered ginger
¼-1/2 tsp red pepper flakes
sprinkle of salt
pepper
dried chives for topping
Directions:
Heat skillet on medium heat. Toss in meat. Then the honey and soy sauce. Add everything else except the chives. Simmer for a few minutes. Spread on rice and top with the chives.
Honey Sesame Chicken
1 can chicken
salt and pepper
2 TBSP sesame oil
2 TBSP onion rehydrated
½ C honey
¼ C ketchup
½ C soy sauce
½ tsp garlic powder
small pinch of red pepper flakes
4 tsp cornstarch
1/3 C water
sesame seeds and dried chives for sprinkling on top
Sprinkle shredded chicken with salt and pepper. Saute onions in oil, then add the honey, ketchup, soy sauce, garlic, and red pepper flakes. Stir. Then toss in the chicken. Bring to a boil, then simmer and start rice. Let the meat simmer while rice cooks. When rice is done, dissolve 4 tsp of cornstarch in 1/3 c water in a small bowl. Mix cornstarch/water into chicken sauce stirring constantly. Warm it so the sauce is slightly thickened. Top rice with chicken and sauce, then sprinkle on sesame seeds and chives.